Showing posts with label how to. Show all posts

Thursday, 25 April 2013

Designer Versus Highstreet: When to spend and when to save

Hi guys,
Like most people, I love a little bit of luxury, and I can't resist treating myself to designer things every now and again. But I'm also a high street addict and I love getting a bargain. I've tried to give up shopping in Primark so many times, but I always get lured back "just to have a look" and I always end up picking up something: their on trend styles and low-low prices are just too tempting!

As someone, therefore, who mixes designer and high street pieces in almost every outfit I wear (though my wardrobe contains significantly more high street items!) I thought it would be a good post to share my opinions on what you should buy designer, and what items you should save your money on and get from the high street. Unless you're a millionaire of course, in which case you can hang the expense and get everything designer! But this is for the average gal like me, with a relatively small amount to spend on fashion each month:

Accessories
When it comes to most accessories, I subscribe to the philosophy that designer is best. I think people notice if you're wearing a statement watch from a good brand or if your sunglasses are designer or high street. And because trends for these items change very little, they're worth investing money in. It's also worth noting they're usually much cheaper than designer dresses or handbags!

On the other hand, I like to update my wardrobe with my accessories (that's what comes of being addicted to classic black outfits) which means there are also pieces I like to get from the high street: I would love to be able to afford necklaces from Mawi, for example, but for oversized statement necklaces I don't think you can get better than Topshop - especially because fashion jewellery trends change so often.  photo designeraccessories_zpsf0f7b3ba.jpg
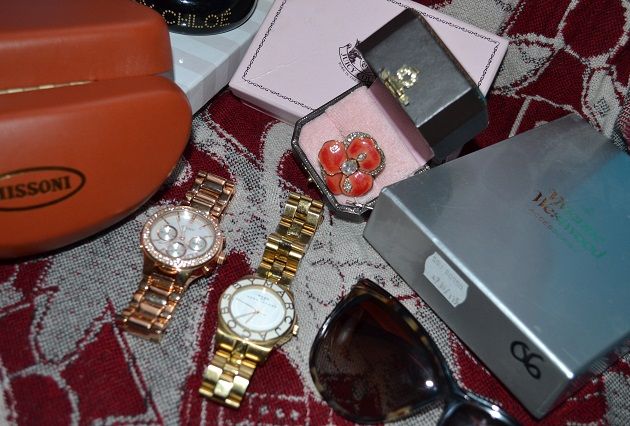
I just can't seem to stop myself buying designer accessories - it's an obsession!

Clothes
As a general rule I shop highstreet when I'm buying clothes. We are so lucky in the UK, because our high street is the best in the world both in terms of style, and in terms of quality and fashion forward-ness. Of course, I would love to spend £1000 on that Matthew Williamson dress. But when Monsoon do a very passable equivalent for a tenth of the price (and you'll only wear the frock twice anyway!) it really does make sense to save your money.

I do caveat that though with this notable exception:

Coats
My black trench coat is Stella McCartney (I got it from a sample sale) and I really do think you can tell the difference in it's quality from my old Topshop black trench coat. Designer coats tend to be heavier, a little thicker, more well crafted. If you like to have lots of coats in lots of styles and colours (like me!) then the high street is going to be your best friend. If you choose just one winter coat that you like, and wear it winter after winter, then look for a designer coat you can really fall in love with.

Handbags and shoes
A lot of people will say that when it comes to handbags and shoes, designer is best. But what I think they really mean is that quality is best. Whether I'm buying from the highstreet or spending designer money, I always like my shoes and bags to be leather. It lasts longer, and looks better: it doesn't have that plastic sheen that pleather tends to have.

I think a splurge is definitely worthwhile on one classic designer handbag: especially if there's one you've had your eyes on for a while. Saving your pennies to buy your dream bag is definitely behaviour I approve of!

PS - Don't believe people when they say that designer heels are worth the money because they're more comfortable: As the owner of several pairs (Dior, D&G, Moschino) I can tell you that it's a myth!
 photo wardrobe2-2.jpg
A mix of high street and designer, but every pair is leather!

So in summary I guess what I'm saying is spend on the classics: your watch, sunglasses, everyday handbag and coat. But save on trendy tops, perpex necklaces and anything in neon: you won't wear it often enough for it to be worth spending too much money!

Of course, don't forget that buying designer doesn't have to cost the earth! Here are some of my favourite websites that I scour through at least weekly to find designer treasure at discount prices:
www.tkmaxx.com (They have regular designer flashsales, but you now have to sign up to shop)
www.theoutnet.com
www.brandalley.co.uk (You have to be a member to shop their designer sales)

What do you think of my suggestions? What items do you like to buy designer, and what do you think you can get just as easily from the high street?

Love Tor x

Monday, 22 October 2012

Fabfrocks at Home: How to carve a pumpkin

Hi guys,
Pumpkin carving is something of an annual Halloween tradition in the Fabfrocks household: hubby and I carve a pumpkin each every year, and compete to see who can create the best design! But if you've never carved a pumpkin before it can be quite daunting. Which is why I've written this quick step by step tutorial (complete with pictures) so that you can create a scary Jack-o-lantern of your own!
Photobucket
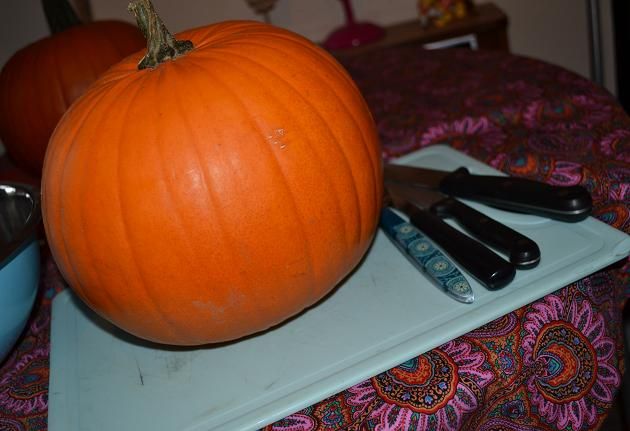
1. You will need: We don't buy special pumpkin carving kits, we just use the tools we have in the kitchen. We use a sharp knife, a blunt normal eating knife, a spoon, and an ice cream scoop. You will also need a biro to draw your design template.
Photobucket
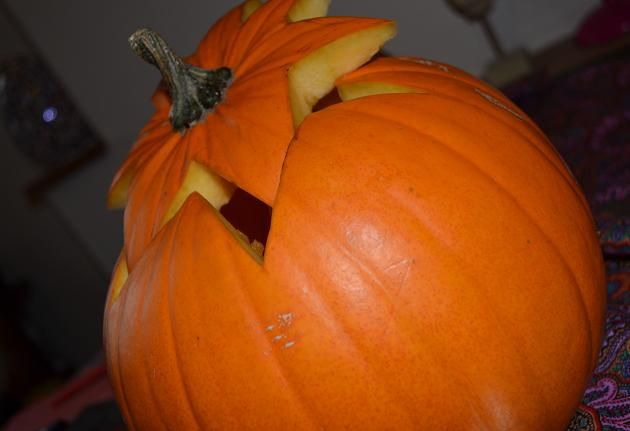
2. First you need to do your prep work. Take a sharp knife and remove the top of the pumpkin: traditionally this is done in the shape of a simple circle. I like to create a star shaped lid. Once you have removed the lid comes the boring bit: emptying the pumpkin! Remember that the more of the flesh you can remove, the longer your pumpkin will last. I use a spoon and an icecream scoop to remove as much of the flesh as possible.
Photobucket
3. Choose your design. Google images is a great source of inspiration for this! Once you know what you want your pumpkin to look like, take your biro and draw your design onto the front of your pumpkin: this will provide the template that you will cut out.
Photobucket
4. Get cutting! Take the sharp knife and remove the skin and flesh from your design. I then use the blunt knife to smooth the edges as much as possible: I find it much easier to control and stick to the design that way.
Photobucket
5. Insert your candle, light you're pumpkin, and put it in your living room window so that it can frighten all the children on your street....Mwah hah hah!!! It really is that easy!

Have you carved a pumpkin for this Halloween? What design did you go for? I'd love to see your pumpkin pictures!

Love Tor xx

Monday, 13 August 2012

Fabfrocks at home: The guide to making bunting

Hi guys,
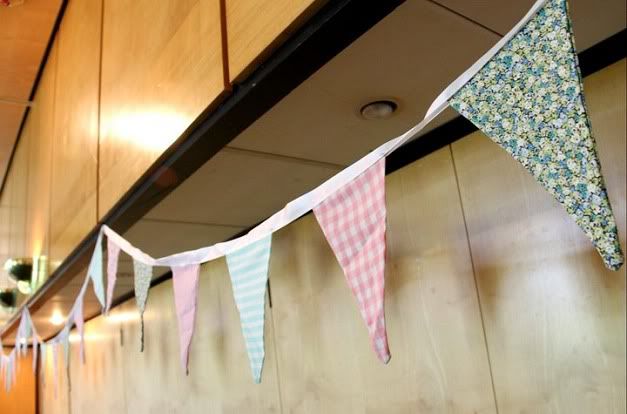
I am what could officially be described as a bunting making addict. For my wedding I made 10 meters of the stuff. And now I'm at it again, with a bolt of gorgeous Cath Kidston fabric and a mission! Photobucket
Bunting is perfect for the summertime. You can use it to liven up your patio or garden if you're having a BBQ, and it looks great (and girly!) in bedrooms too! Even better, it's stupidly simple to make, and you could whip up a small strip in around an hour. Here's how:
Photobucket
-Draw a triangle on some cardboard and cut it out to use as a template, so all of your flags are the same size and shape. Your triangle can be as big or small as you want your flags to be: mine is 23cm long by 17cm wide for a point of reference.

-Pin the template to your fabric and cut out your triangular flags; cut out twice as many triangles as you would like final bunting flags.

-Take two triangles and place them together so that the pattern on each triangle is facing inwards (so that you can't see the pattern when you are sewing) Using a simple stitch, sew around the two long sides of each triangle.

- Turn the sewn up flag inside out, and iron flat: you should now have a bunting flag with your fabric pattern on either side. Repeat until you have as many flags as you need.

-Take a length of pretty ribbon and stitch your flags to it: I fold my ribbon in half and sew the bunting flags in between this, so that you can't see any of the stitches, or the scruffy ends of the flags. And that's it! Simple, easy, super-pretty bunting that will last forever and that you can use over and over again!

Have you ever made bunting? And did you find it easy? If you have any tips to improve on the way I'm currently making it, I'd love to hear them!

Love Tor xxx

Monday, 16 April 2012

How to wear a classic white shirt

Hi guys,
You may remember that a couple of months ago I wrote a little post about how I would style a white shirt, for shirting company TM Lewin. I choose to dress my shirt up with a little sparkle: shirting in the daytime has never really fitted in with my lifestyle. Well back in February, as part of the same TM Lewin campaign, I was invited to a photoshoot where I got to style my classic white shirt again. Here are the results:
Photobucket
Now I'm not much of a white shirt wearer (for me they're a rare piece in my wardrobe, rather than an everyday occurence) but here are a few tips from my point of view on how to wear a classic white shirt:

1. Make sure you get the fit right. A good shirt should sit on your shoulders, have room for two fingers inside your collar (any more and its too big, any less and its too small) and not gape at the bust. It's hard to find the shirt that fits right - like finding the perfect pair of jeans. But when you find it you'll know!

2. Don't make the mistake of thinking white shirts are only good for office wear. I would never wear a shirt during the daytime: it's too formal. Instead, my favourite way of wearing a white shirt is to team it with a sequinned mini skirt or fuller A line skirt and killer heels for a super-sexy evening look.

3.Acessorize, accessorize, accessorize! See your white shirt as a blank canvas: a wardrobe basic that needs some personality injecting into it to make it your own. It's amazing the difference a nice pair of cufflinks, oversized chunky necklace, or even a little ribbon bow like mine, can make to the look and feel of what is fundementally a really simple outfit.

Are you a white shirt wearer? How do you style yours? I'd love to here your ideas and tips!

Love Tor xx

Saturday, 25 September 2010

The fabfrocks guide to...doing a top knot

Hey guys,
So it's the "must have" hair 'do of the season, and everywhere I turned during London Fashion Week I saw one: yup, i'm talking about the top knot!
Photobucket
So as you can see, I have been giving it a go myself, although I think it would look better if my hair were slightly longer and I didn't have my fringe. But it does look super-stylish, and is one of the easiest updo's i've ever attempted (bar the simple ponytail, of course!) So here's how I did it in 3 simple steps:

1. So the first step is to get your hair into a really high pony tail. I find the easiest way to do this is to turn your head upside down and comb it through and into a high pony tail whilst your head is still upside down. I also put a salt spray through my hair before I start, as it makes it more textured and even thicker (I use a bumble and bumble one that is really good)

2. I then back-comb the ponytail a bit to make it thick and a bit frizzy (because I like my knot to look quite undone)

3. The final step is to wrap the hair around the bobble to create a bun, securing with pins as I go (I usually use four pins around the bun, and then another to tuck my fringe underneath the bun) I then pull some whips out of the bun and sides to make the 'do look more tussled, and cover it in hairspray for longevity: i'm currently using an Aussie one, because it makes my hair smell like peaches!

It's that easy: I'm loving this style, and it's perfect for those lazy days when you can't be bothered to wash and straighten your hair. What's your go-to lazy day style? And do you have any more tips to add on how to create the perfect topknot?

Love, Tor xx

Tuesday, 13 July 2010

Fabfrocks guide to: Applying false lashes

Photobucket

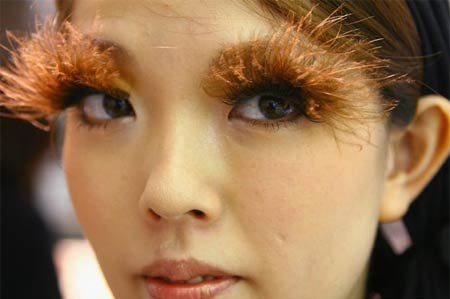
When I wrote about my new false lashes last week, a couple of people commented that they'd love to wear false lashes but they struggled to apply them. Now, i'm no expert, but I always manage to get mine on pretty straight, so I thought I would share the fabfrocks guide to applying false eyelashes:

1. Put your make up on first. I know some people apply their mascara after their lashes, thinking it will make the falsies and their natural lashes blend together. This will just damage the lashes and the pulling motion of your mascara will move them out of position. Also even if you don't normally wear it, apply at least a thin line of eye liner: that way you won't see the join of your lashes on your skin.

2. Apply the glue to the lashes and then WAIT! If the glue is really slippy and the lashes are sliding everywhere when you try to put them on then you're applying them too soon. Wait for the glue to go slightly tacky and you will find that your lashes go on much easier. It depends how long it take you to do your make up, but I usually glue my lash, apply my eye liner and mascara, and then stick them on. I do this one eye at a time.

3. Get the position right. I don't know if this is how you're supposed to do it, but my tried and tested method is to apply the lashes very slightly on the skin (that way you can feel they're on) and then slide them down so that they're exactly at the lash line. If you have them any higher or lower then they generally don't sit straight above your natural lashes: if the falsies flick too far above your own lashes then they're a little too low. If this happens take them off, remove the tacky glue, and start again.

4. Hold still! Once you have them where you want them I tend to press my falsies in position really firmly and then hold it there for about 30 seconds. This pressure makes sure they stay and dry in place, and keeps them in position all night!

And that's it! That's how easy it is to apply false eye lashes and get it right: give it a go and let me know what you think, and if you have any clever tips to share that can make this even easier let me know!

Love, Tor xx